Arduino Glockenspiel
Motivation.
I co-taught a January Term class in 2019 that we called “Music Makerspace Live!” Students constructed musical instruments (acoustic and electric) and then performed original songs using their creations. I mainly focused on the electronic creations, including MIDI input and output devices that used Arduino. Early in the term I took students on a field trip to local thrift stores to look for hack-able inspiration. At one of the stores we found a well loved, Fisher-Price xylophone (technically a glockenspiel). None of my students were interested in using if, so I thought I’d put it to good use.

Process.
I first thought about ways to play the notes without needing to remove them from the toy. I didn’t have enough solenoids on hand to strike them individually, so I looked for ways to have one striking mechanism that would move from note to note. I thought about using servos to make a turret that could position the solenoid I had, but it ended up being too slow and too inaccurate. Finally I decided that if I removed the notes from the toy and laid them out in a circle, I could more easily use a single stepper motor to rotate a striking mechanism between each note. This way the distance between each note was the same, simplifying the code.
This was during a big snow storm in 2019, so I was stuck at home, where I had access to a laser cutter, but no 3D printer. I used Fusion 360 to design parts that could be cut from acrylic and assembled with just a few bolts and glue. In total the striker mechanism had about 9 parts, which could have probably been reduced to 3 if I’d had a 3D printer handy.
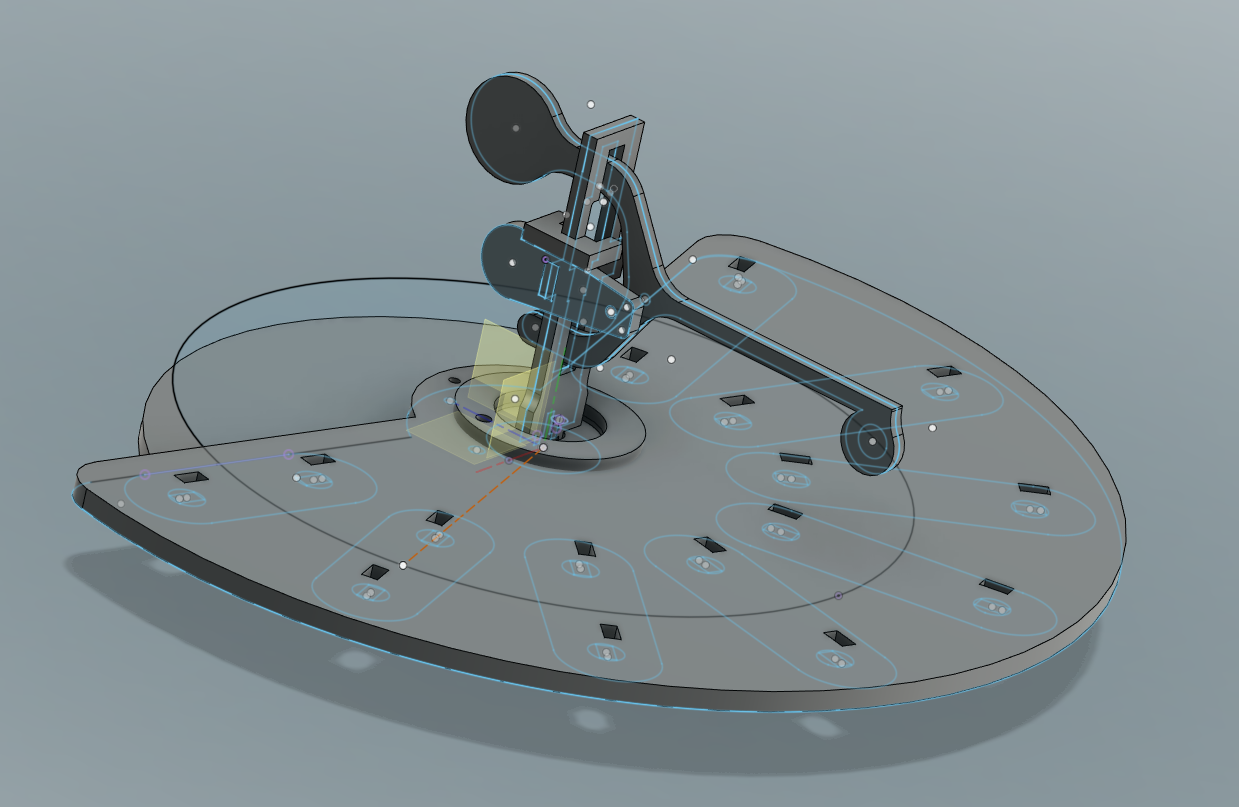
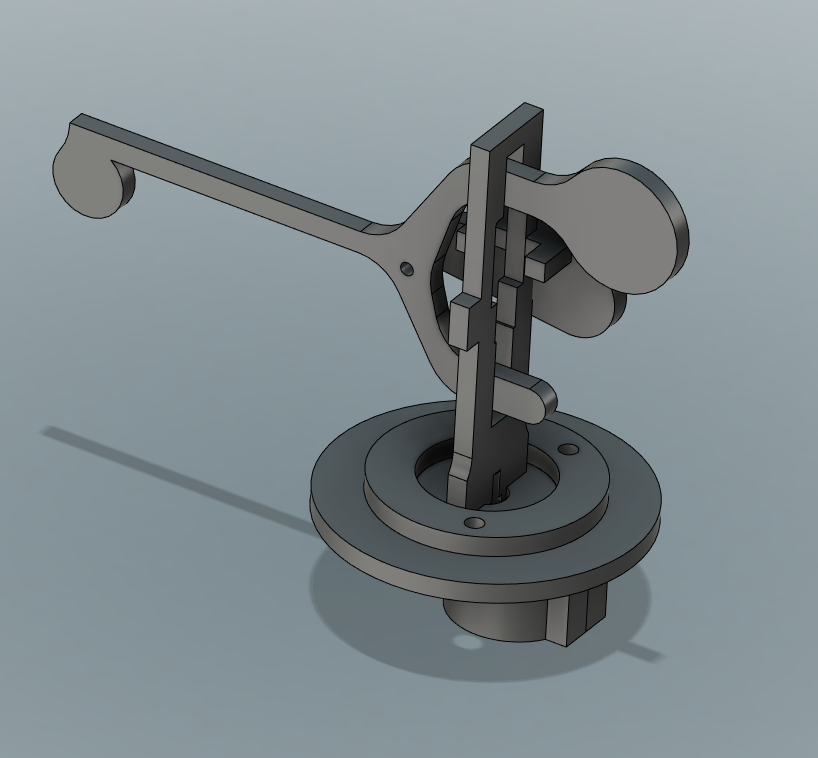
After getting the striker to work the way I wanted, I mounted it on the stepper motor (28BY-J-48 with ULN2003 controller) and focused on getting that to move. I found some code by Nikodem Bartnik to be a helpful starting point. Next I laser cut a final mounting that would hold all the keys, electronics, stepper motor, and striker. Once they were mounted I spent a lot of time figuring out how many steps the motor should make between each note and how to maximize the torque of the stepper motor to ensure minimally missed steps. Still, over time the motor tends to go out of orientation and the striker begins to hit empty space. I debated adding a limiter switch at some point in the motion so the motor could get occasional feedback about its position, but the switches I had on hand were two bulky (and I wasn’t going to trudge through two feet of snow just to get a switch). Instead I included some push buttons that could be used to periodically re-orientate the striker. You can see in the code below that this is a required step in setup() before the striker begins hitting random notes. It can run for about 10 minutes before needing to be realigned.
This video shows the development of a self-playing instrument (technically a glockenspiel) made from a Fisher-Price toy and Arduino. The parts were designed in Fusion 360 and cut with a laser out of acrylic. The striker mechanism uses a 5V solenoid controlled by a relay. The striker is rotated by a 28BYJ-48 stepper motor and ULN2003 motor controller, bought off Amazon for cheap. After calibrating the position of the striker with the push buttons, the instrument will endlessly select random notes to strike.
While the end result was acoustically underwhelming (a 5V solenoid apparently doesn’t generate the same striking force as a toddler!), this was still a great way to pass a few days and stave off cabin fever.
